

For your convenience, we’ve developed a a contact widget plugin that will make your relations with clients even better. Generate your contact widget, integrate it to your Wordpress page and start collecting data you really care about!
Install and activate the plugin
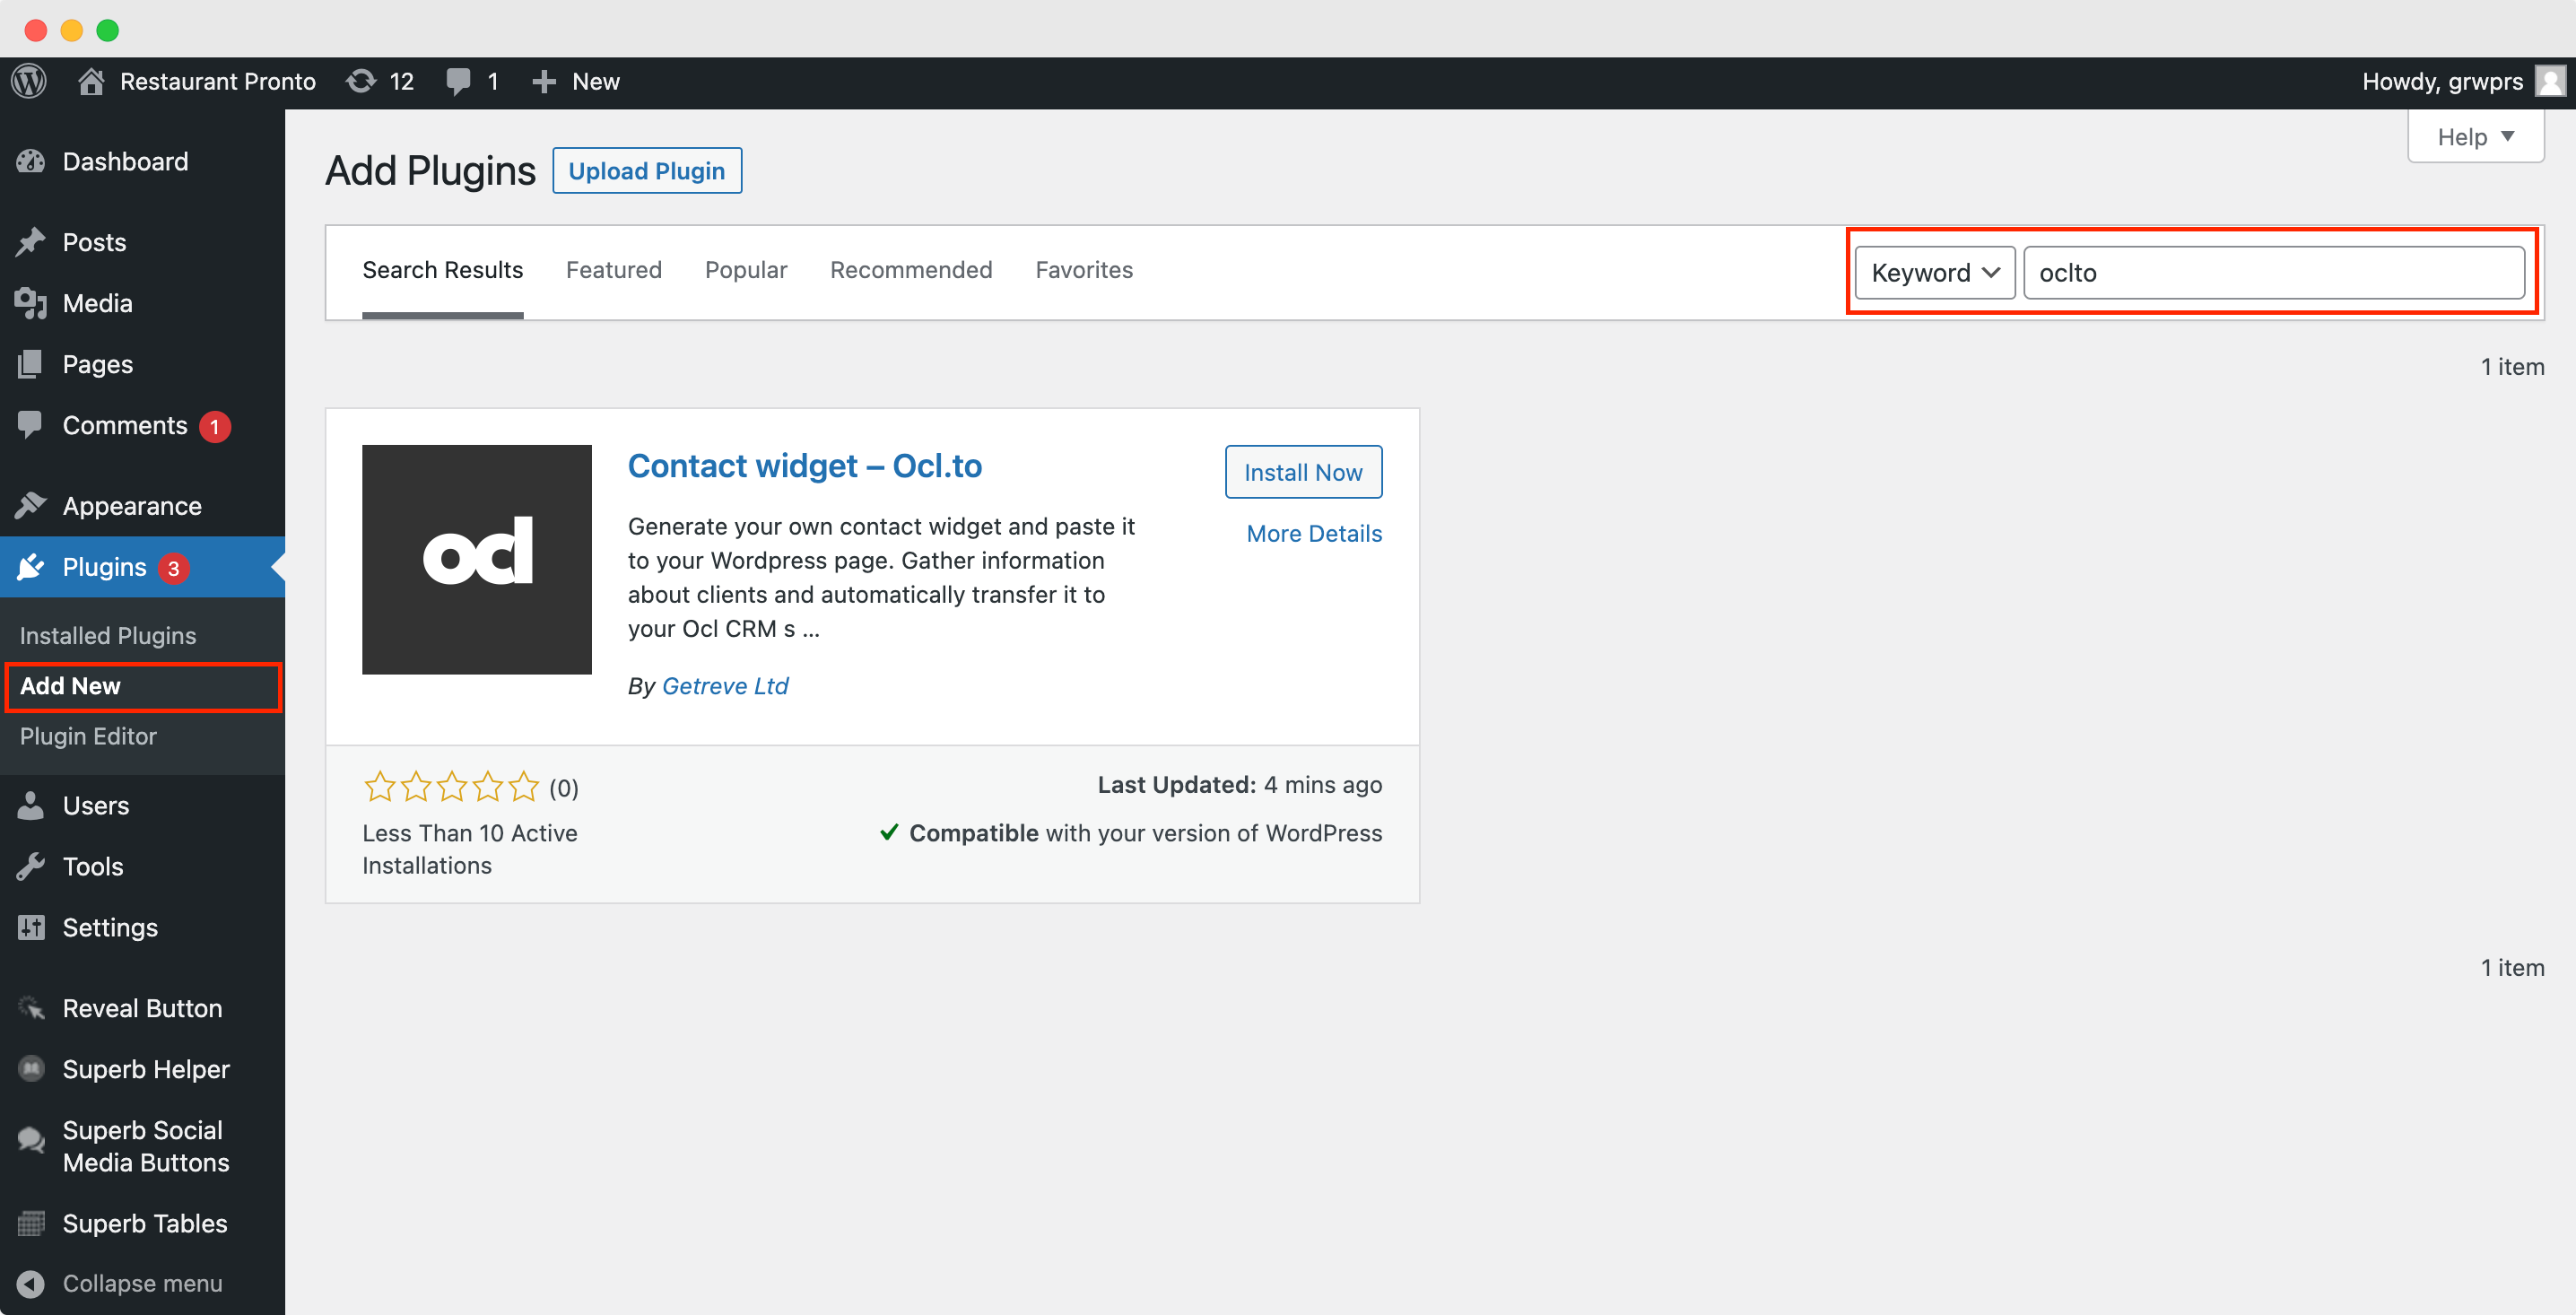
- • From witin WordPress, go to the Plugins section and click on Add New
- • Search by the keyword oclto and our plugin will show up
- • Click on Install Now and wait a few seconds
- • Click on Activate (it shows once installation is finished)
Create an account at Ocl
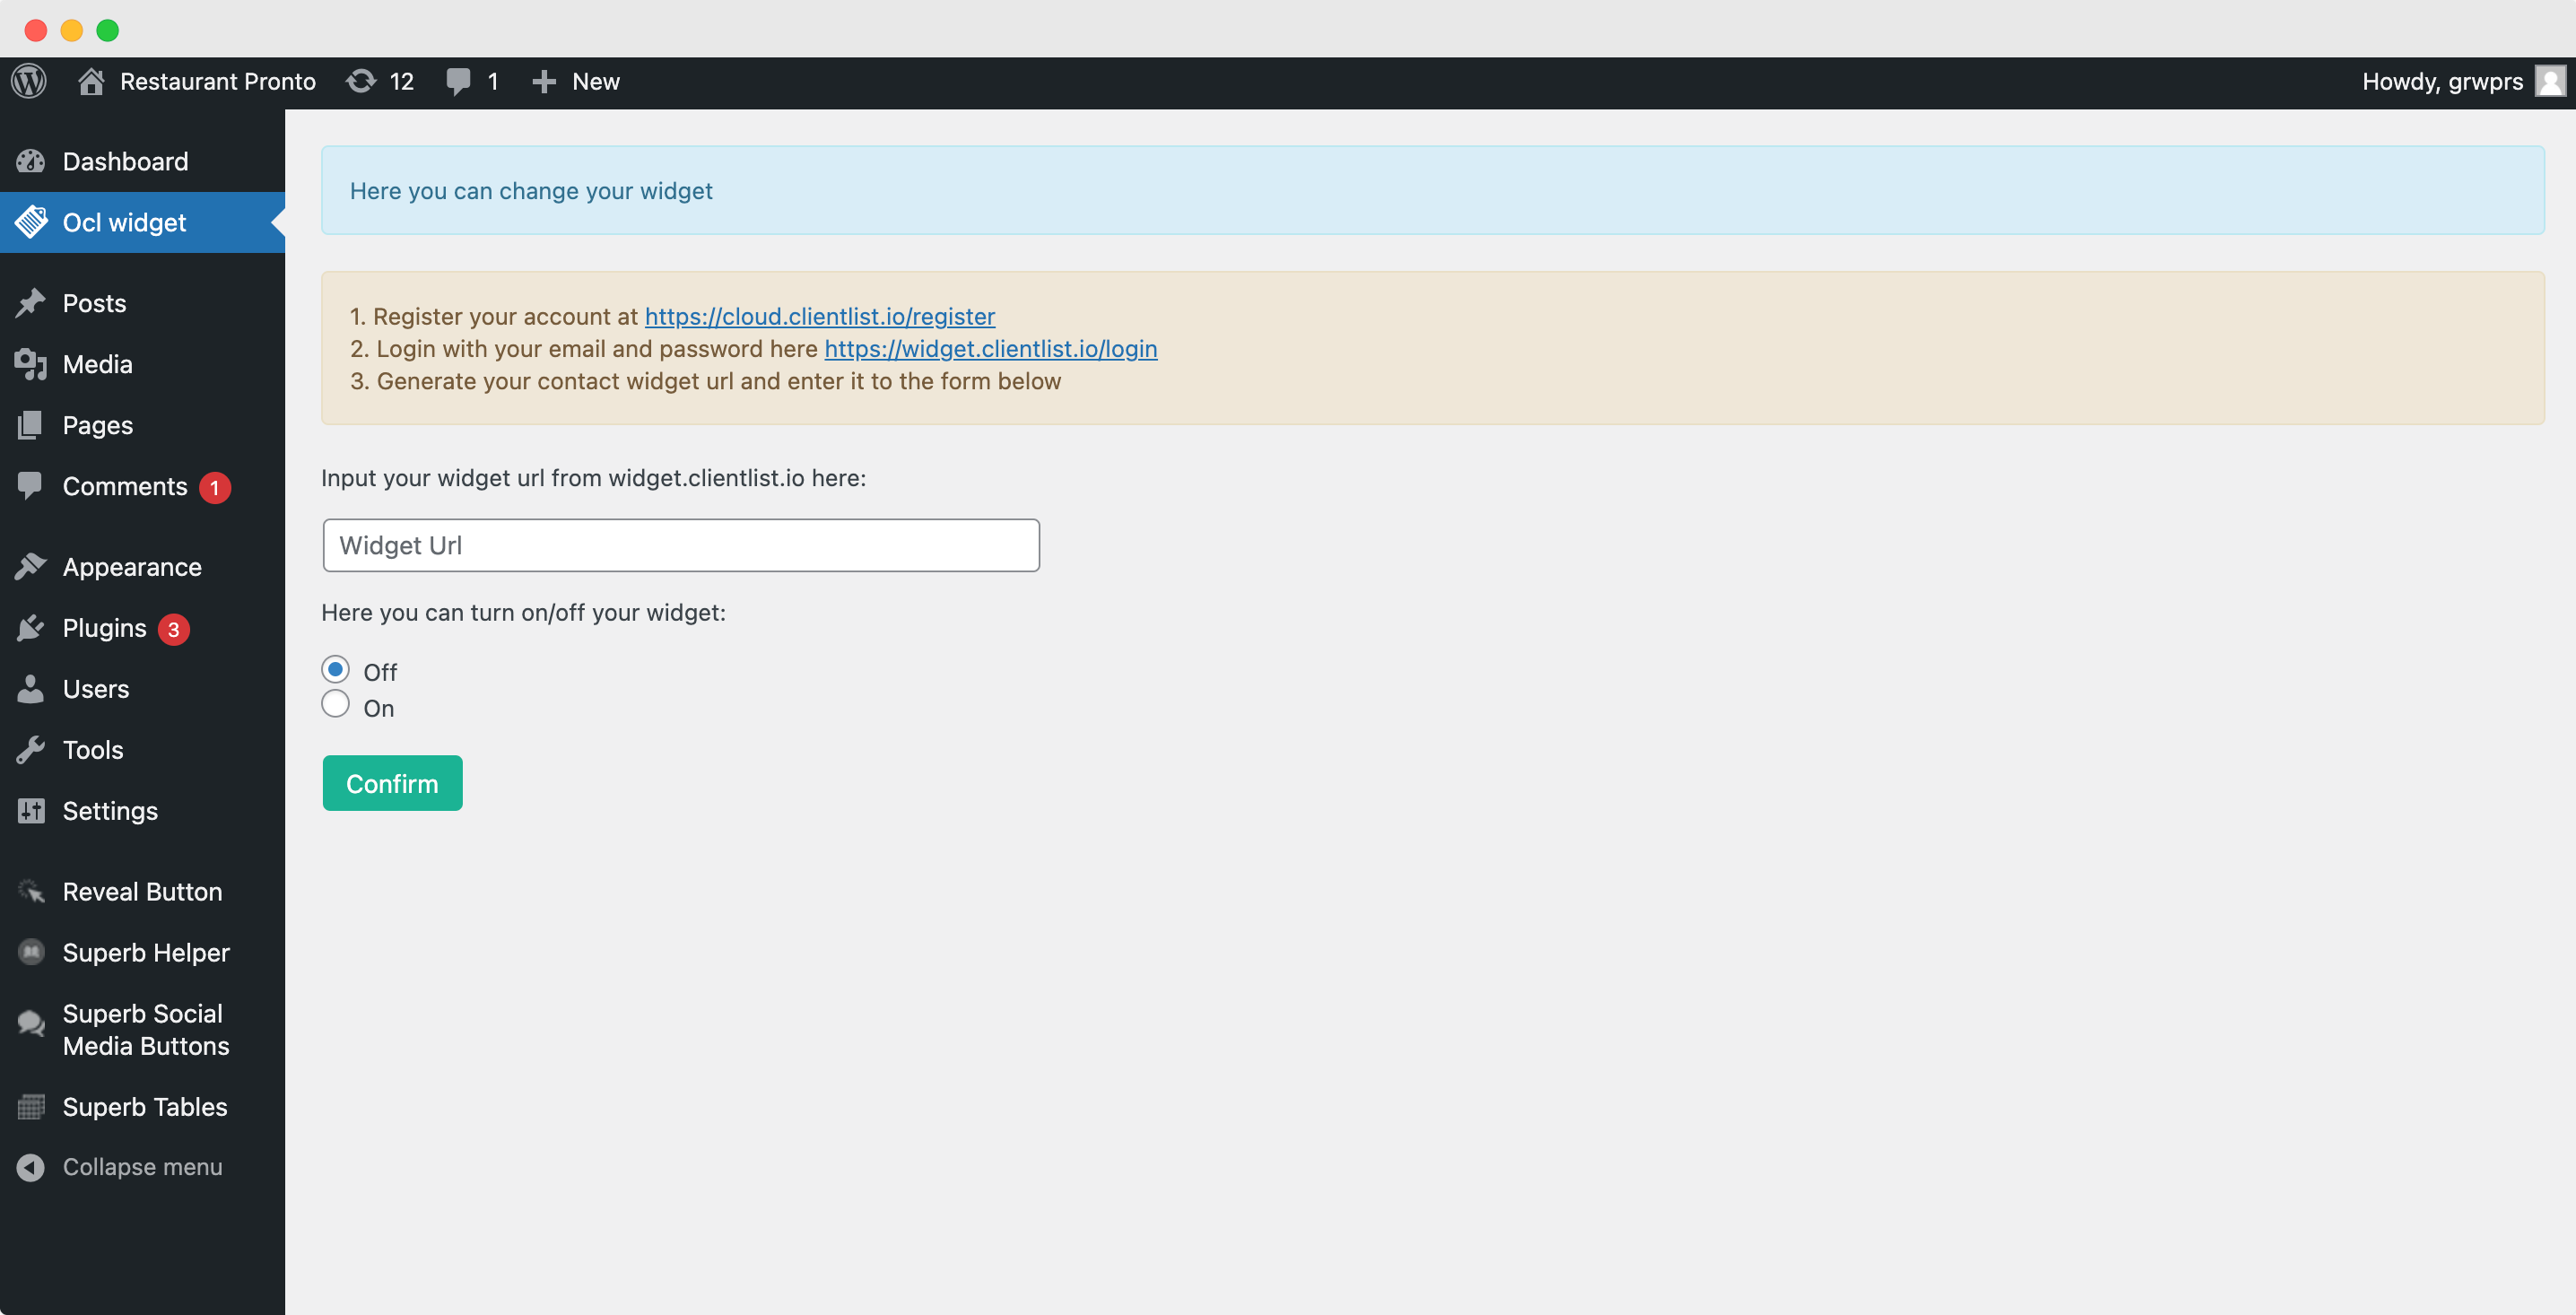
Once you install the plugin, a new section will show up in the WordPress navigation panel called Ocl widget. Simply click on it! In order to proceed with plugin configuration, you need to create an account at OCL. Simply follow the link in step 1 and create your account. If you already have one then proceed to step 2
Create your first list
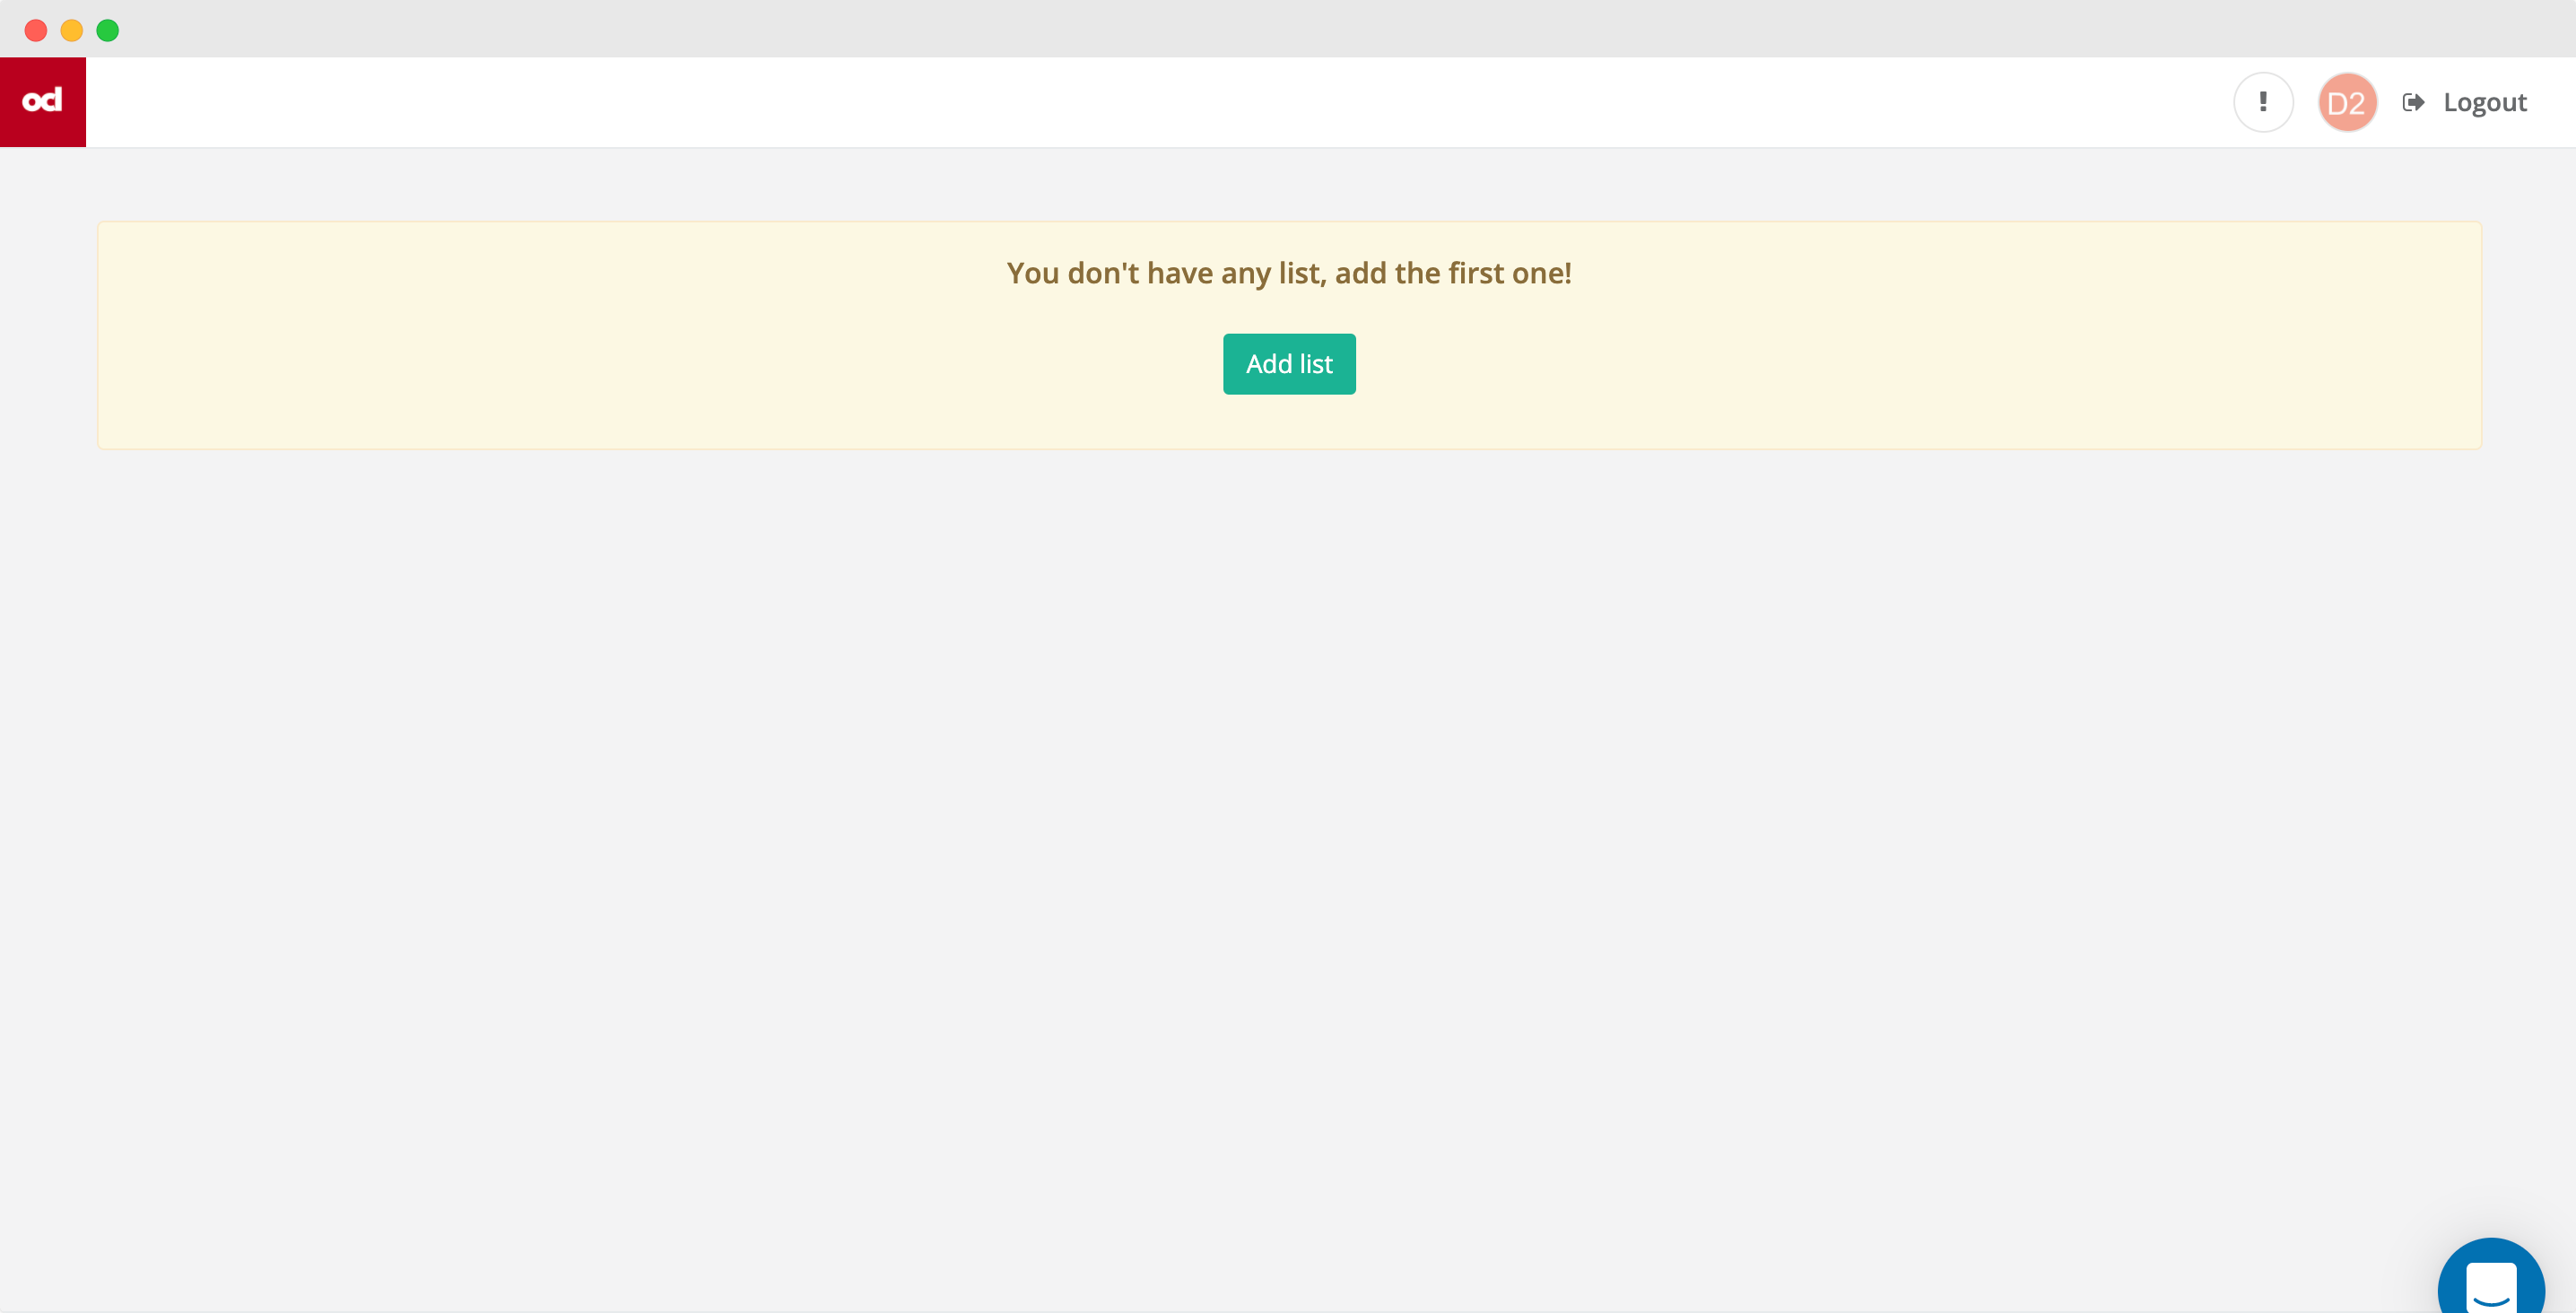
If you’ve just signed up, then create your first list where all data collected with the help of contact widget will be stored!
Generate your widget
After you created your first list, go back to the plugin configuration menu and follow the second link in order to generate your contact widget code. Use your email and password from Ocl in order to log in to the system!
Configure your widget
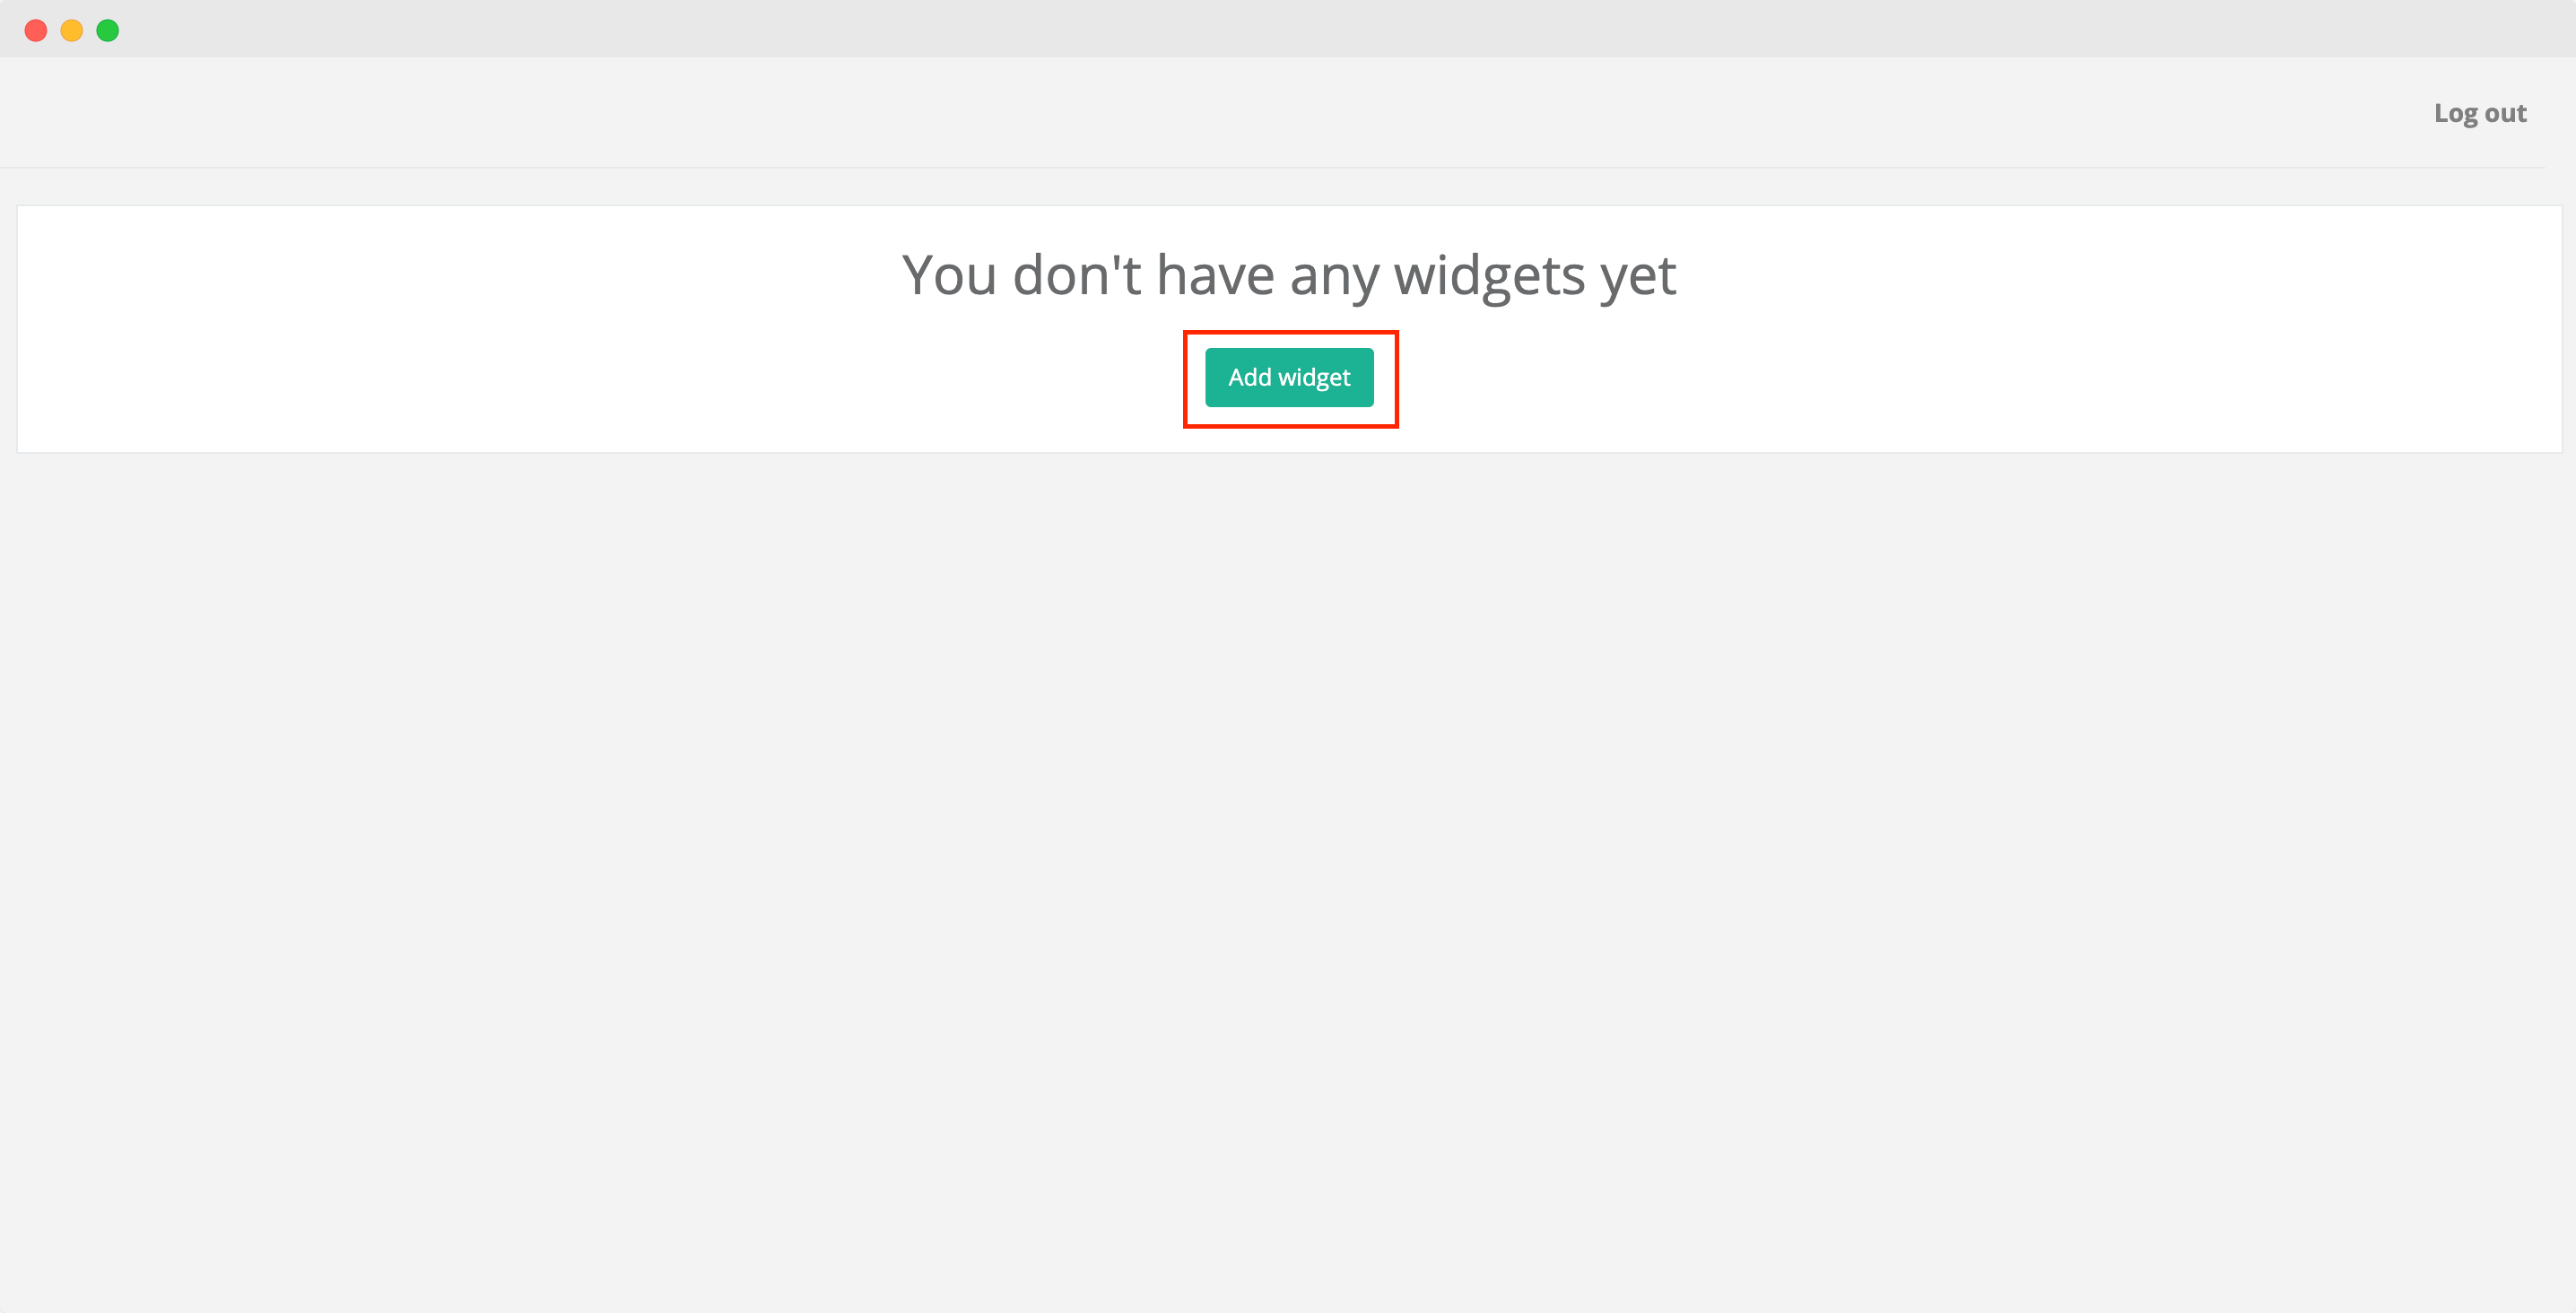
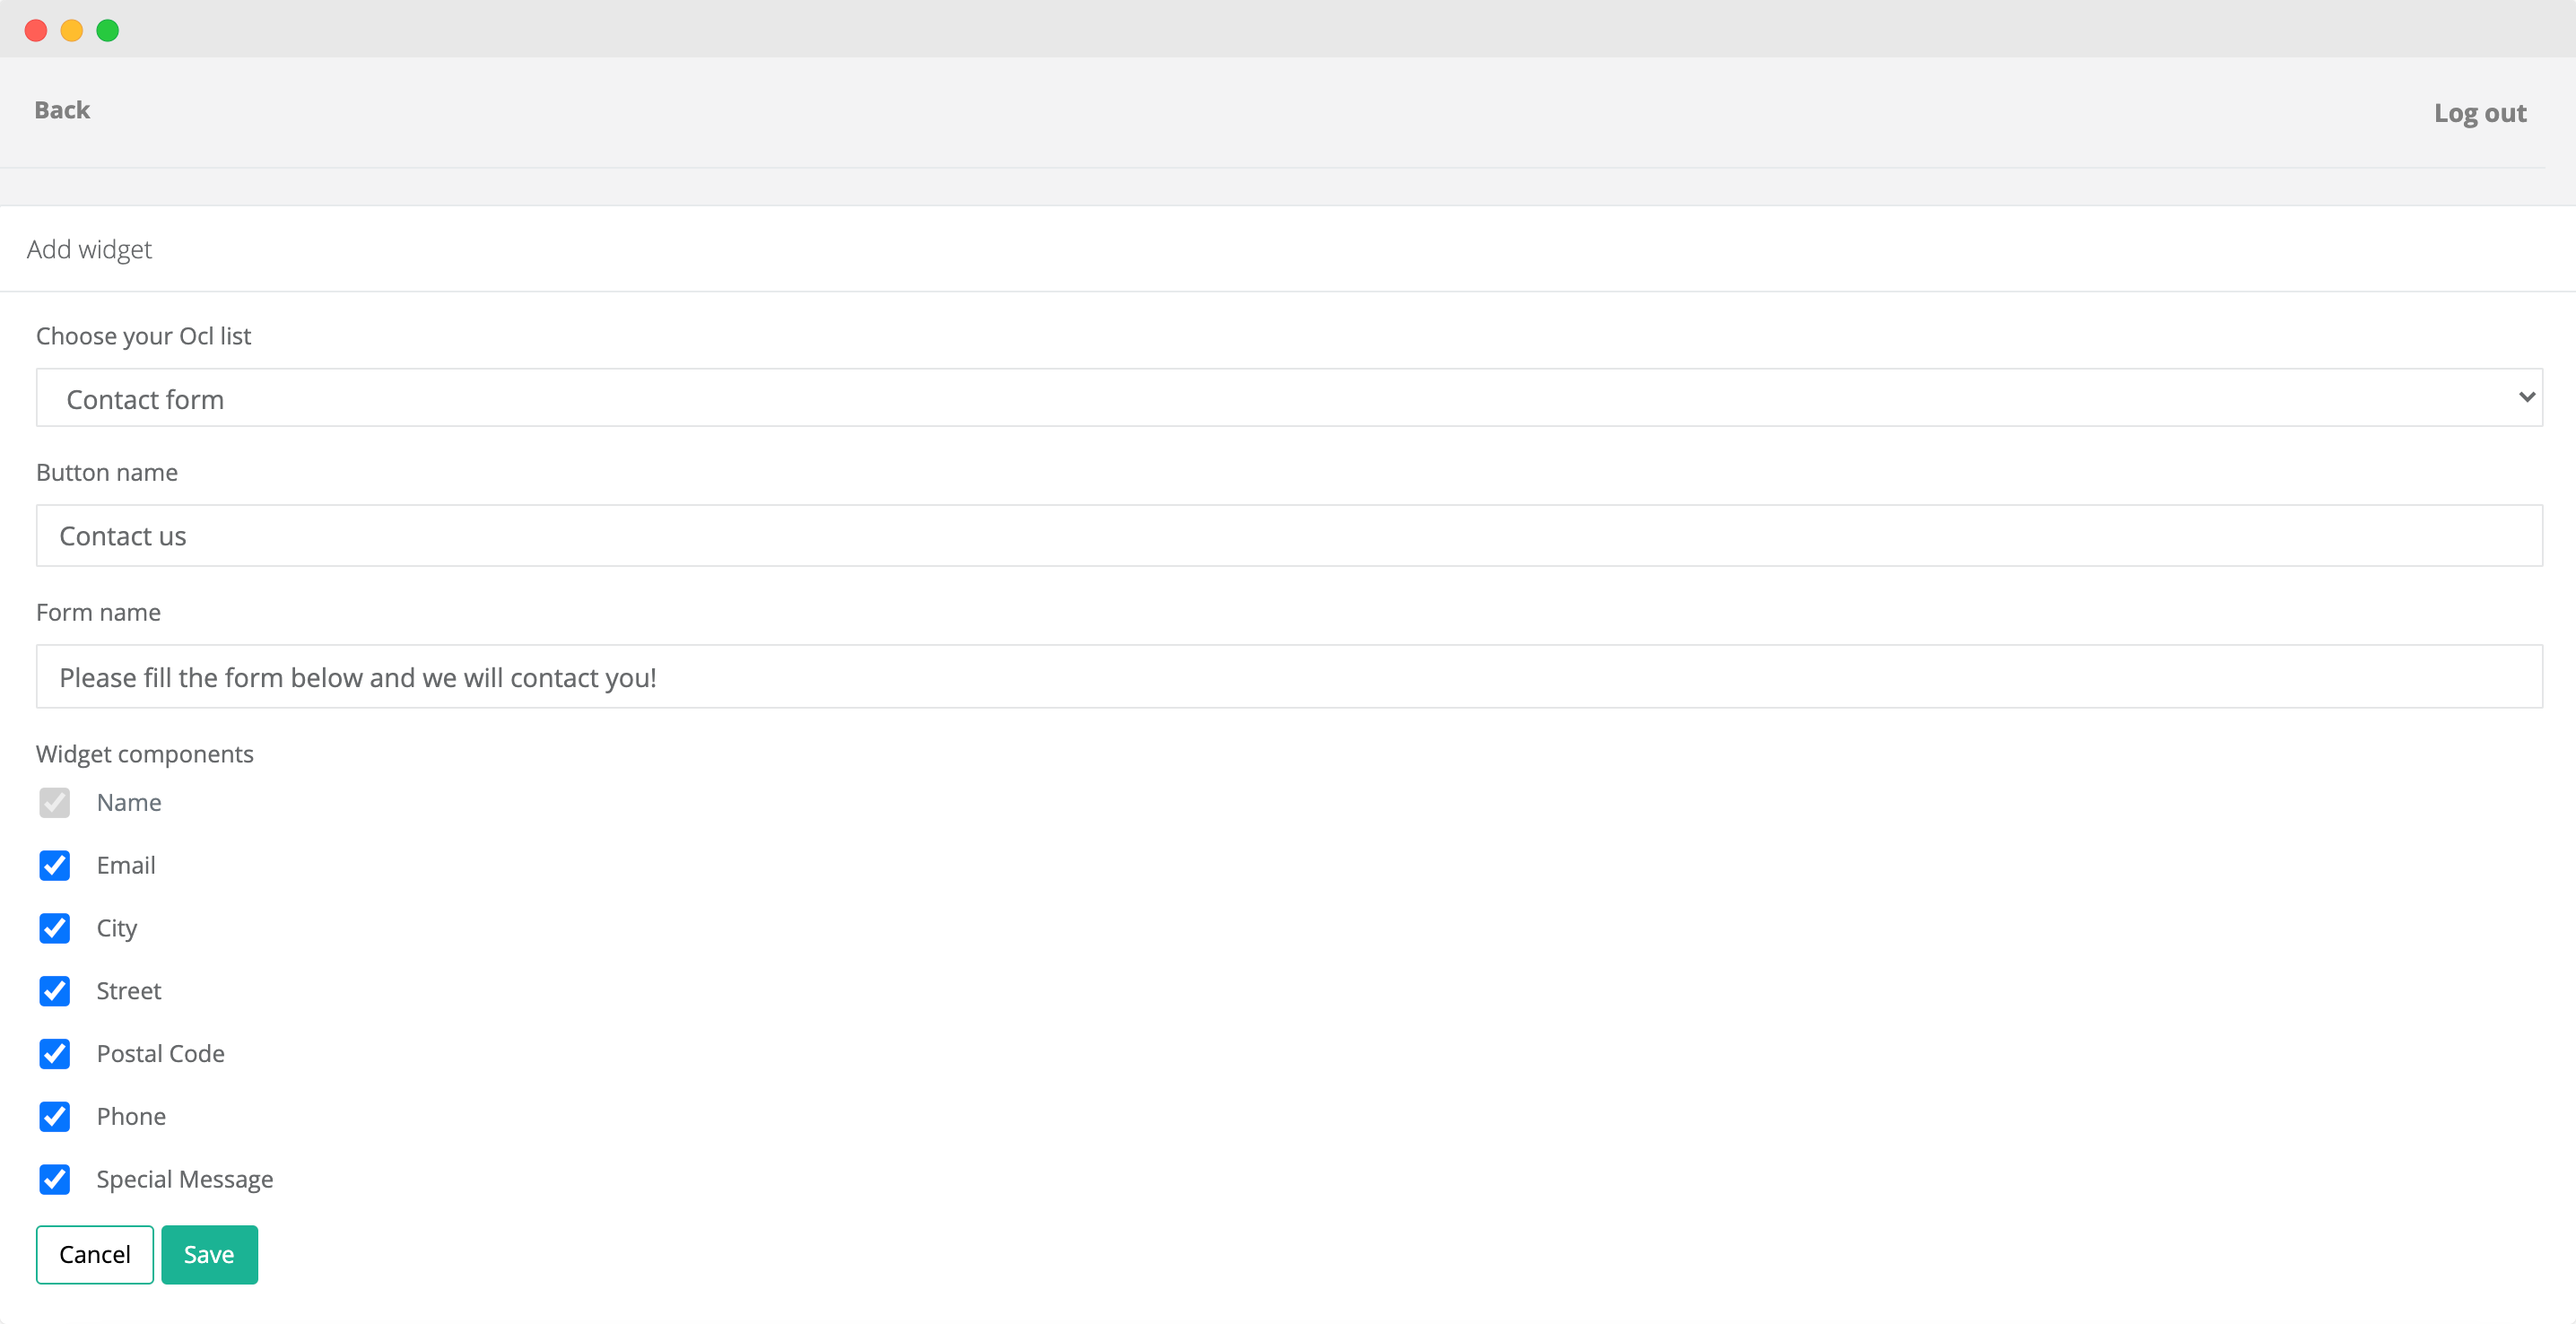
Once you log in to the system, click Add widget button and fill in all the necessary details:
- • Choose your Ocl list where all the data will be stored
- • Configure button and form name which will be visible to your clients
- • Choose what data you want to collect from clients
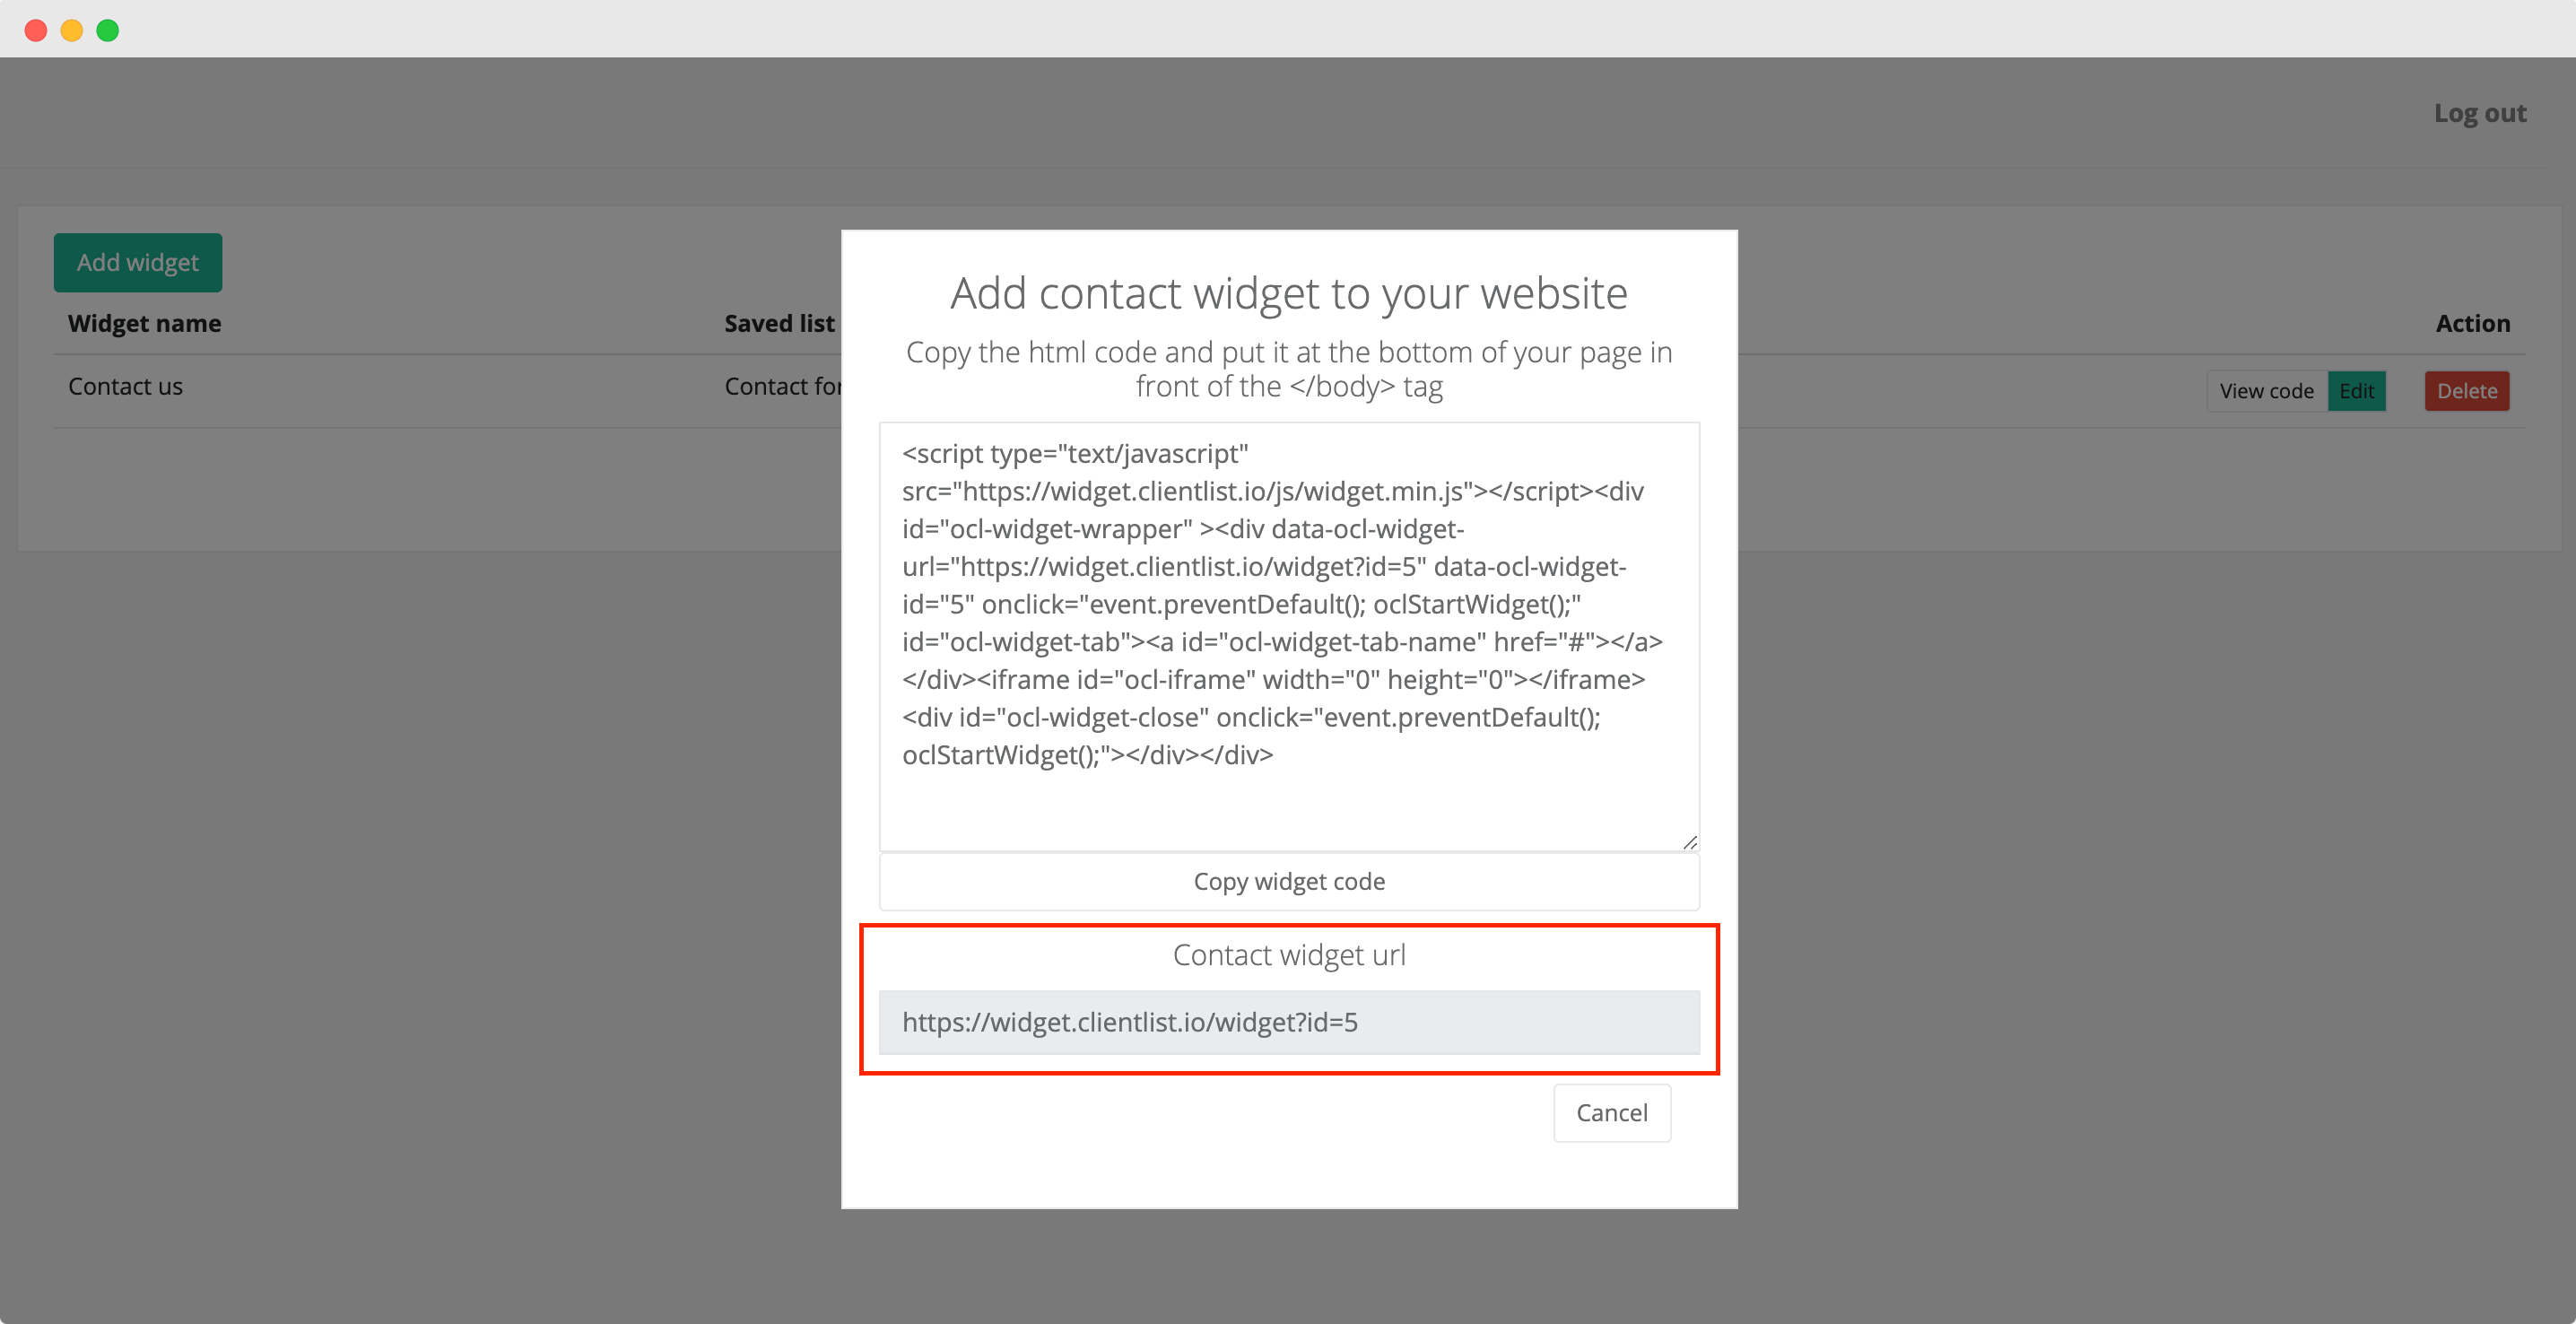
Copy the widget code
Once you finish the configuration process, you will be provided with a widget link which should be copied and pasted to your plugin configuration menu.
Widget is ready
Basicaly that's it! After these simple steps your contact widget will appear on your Wordpress page and you can start collecting data from your clients!